You ever put something in the crock / Insta-pot, and then figure out what you’re doing with it? That’s how this happened. Chicken Veggie soup: chicken, broth, sweet potato, zucchini, mushroom, carrot, onion, celery, herbs & spices. The chicken didn’t take up much room, but the veggies… oh the veggies! They fill it to the top!
And this is way more than just lil ol’ me can eat quickly, so now I have to figure out the best means of canning it (no tomatoes, as they are still no bueno). Good thing this happened on Sunday, when I’ve got time to spare. (hearty laugh ensues).
What would you create if you put your chicken in the instapot today?
I’ve been working on this recipe for a while. Had a hard time deciding what it wanted to be, and finally decided upon scone. Want cookies? Add an egg or substitute, a touch more sweetener, and the rest is the same. It mixes up quick, tastes yummy, and you can eat it while its WARM! A rarity, I find, with cassava flour.
Preheat oven to 350F.
Cream together:
1/2 cup Butter
3 T Agave
In a separate bowl, combine well to coat & separate the dates throughly:
2/3 cup cassava flour (or blend with arrowroot/cornstarch)
1/2 tsp baking soda
3 chopped dates
3/4 cup shredded coconut
Combine bowls, mixing thoroughly.
Couple of different ways to form – 3T per scone (Pampered Chef has a scoop just for this), or roll it out, adding more flour blend as needed, then cut into 6 pieces (have fun w your shapes). Bake for 20ish min. Cool. Enjoy before the cats knock them off the counter. True story.
Kiss of Fire (jalapeno, cranberry & dark choc)
I’ve been working on a different recipe, but one day I realized I just LOVED the texture of the coconut date scone… I wonder how it’d work here… FABULOUSLY.
Preheat oven to 350F.
Cream together:
1/2 cup Butter
3 T Agave
In a separate bowl, combine well to coat & separate the dates throughly:
2/3 cup cassava flour (or blend with arrowroot/cornstarch)
1/4 tsp baking soda
1/2 up to 2 jalapeno/habanero/serrano/other flavorful pepper
1/4 dark chocolate chips
1/3-1/2 c chopped cranberry (recommend they start frozen to make chopping easier, less messy)
Combine bowls, mixing thoroughly.
Couple of different ways to form – 3T per scone (Pampered Chef has a scoop just for this), or roll it out, adding more flour blend as needed, then cut into 6 pieces (have fun w your shapes). Bake for 20ish min. Cool. Enjoy before the cats knock them off the counter. True story.
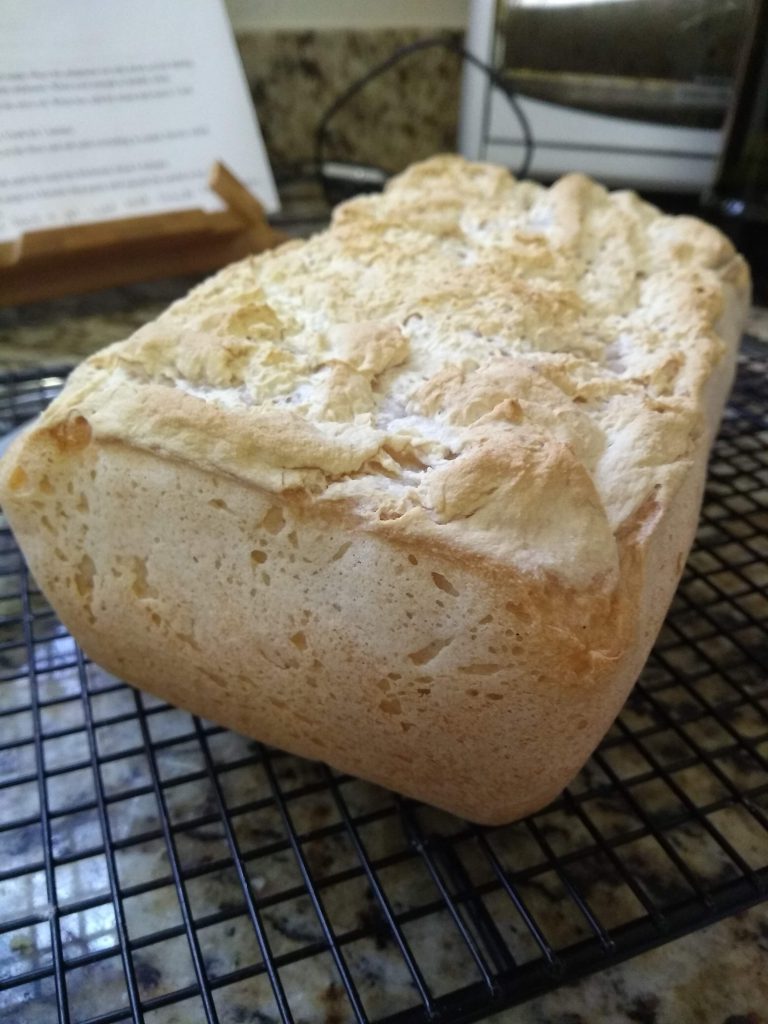
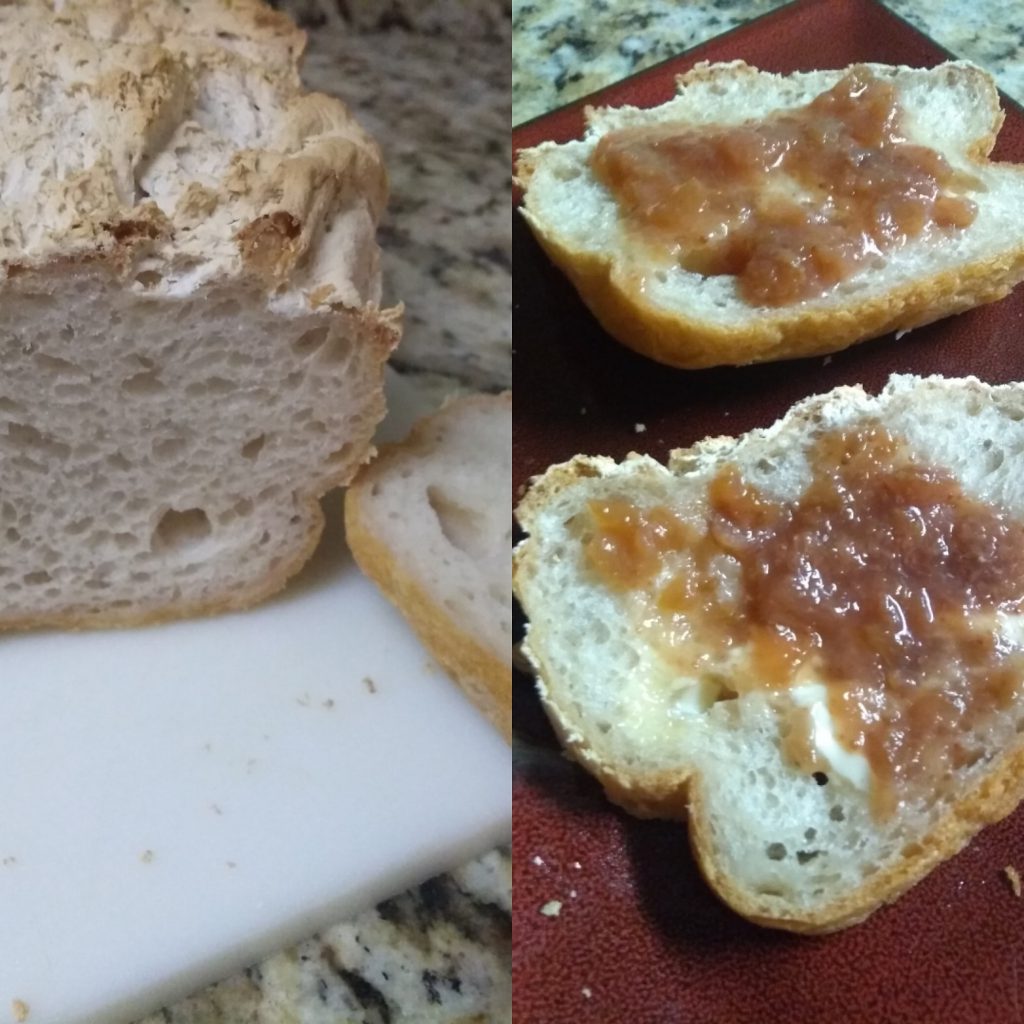
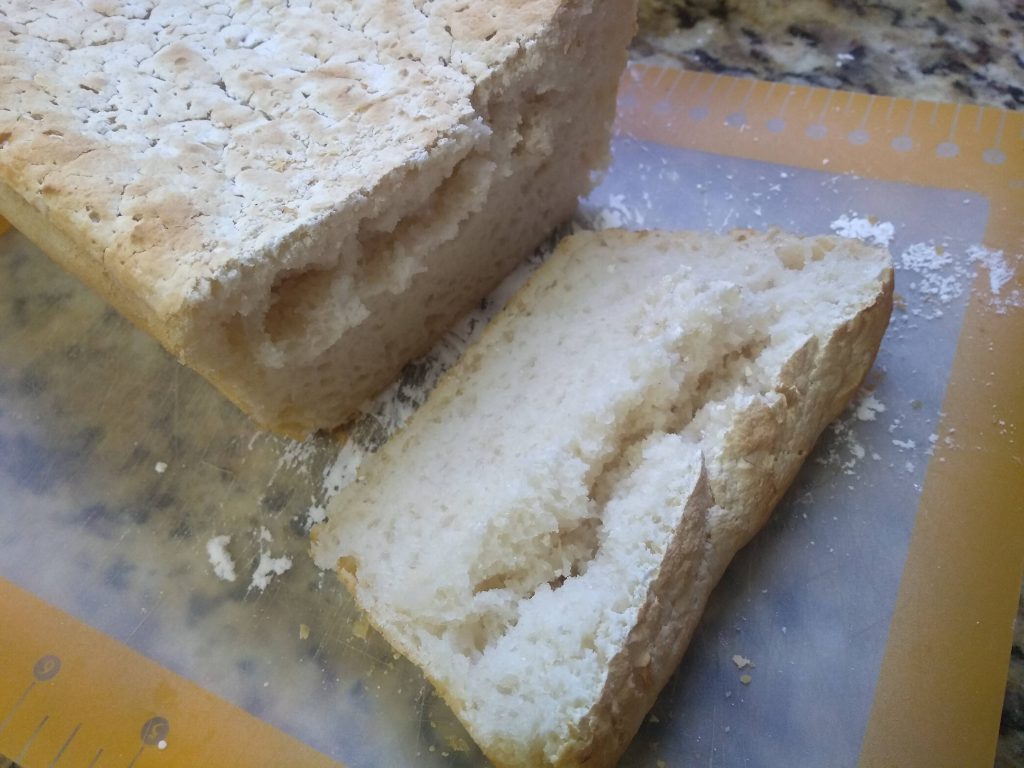
A cassava flour bread that is… light…fluffy… crusted…moist.
Can you smell it? I can!
Unlike the paleo-cassava bread, this really is like “real” bread. I remember “real” bread. I miss real bread. I really had to get to know my ingredeints to get this to come to fruition. I had to be patient. I had to keep trying. Pretty much since COVID-19 started, I’ve been doing a loaf every 1-2 weeks. Depends on the previous loaf went as to when I did the next. I’ve tried to keep the ingredients simple, but in the end, I did indeed have to add Xantham gum. I could get it to raise without, but it wouldn’t hold form. it collapsed.
After seeing how dense cassava flour can be, I tossed every leavening agent, except egg, in there – yeast, apple cider vinegar, baking powder. And it works.
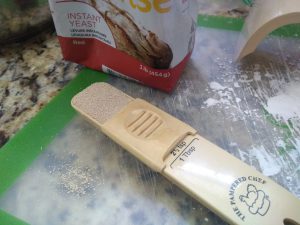
I tend to use bulk yeast, cuz its cost effective when you #playwithyourfood a lot, so you’ll note I used a little bit more than 1 packet (2.25 tsp) for this recipe – 2.5 teaspoons. Partly cuz my fav measuring spoon is Pampered Chef’s measure all, and I only get 1 out to make this loaf. It does 2.5 tsp, but not 2.25. Fewer dishes to clean. It’s the small things.
Pampered Chef measure all spoons
I started out using the water temp that most bread recipes recommend (100-110F), and then I started reading up on yeast. It actually recommends 120-130F. I started having more luck when I upped the temps of my liquids. I’ve also only used rapid rise or instant yeast. As finicky as cassava flour is, I’m not sure I’d try regular yeast. (Note: Pampered Chef doesn’t make this thermometer anymore).
Recipe starts out at 2c flour blend – and you’ll need to add more than that for sure, but I’ve found it really varies based on my accuracy of liquid measure. I prep 3 c, and end up using about 2.5. Then I’ve got flour blend for other stuff. I’ve a friend that is corn sensitive, so my blend included arrowroot flour. Feel free to experiment with others, just keep the ratio 50/50 w cassava. Take it from me that other ratios lead to sadness, madness, and the compost bin.
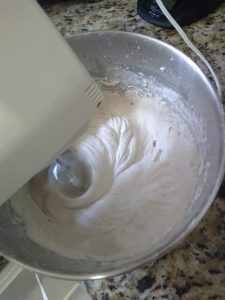
partially seized dough.
the way it should be
Without the xanthan gum, the dough would seize, and with too much, it clogs up the mixer. I’d have to add water (or tea, whatever was handy – and i actually really like the tea flavor – FYI). Then I’d have to go back & forth. Xanthan took away the seizing, but too much, in combination with the already doughy nature, made the loaf fit only for the compost bin. When you get it right, it pulls away from the edges. It’s smoooooooth.
The hardest part of all this was the learning that I had toleave it alone overnight.A friend commented that you’re supposed to eat bread fresh out of the oven. Not this bread.I’m serious. Leave it. Let it cool, then I put mine in the frig. I’ve got 5 cats. If you leave it on the counter, let me know if it still sets up right. This past week, I’ve made 2 loaves – the one I tormented you with on a previous blog, and then one Friday.
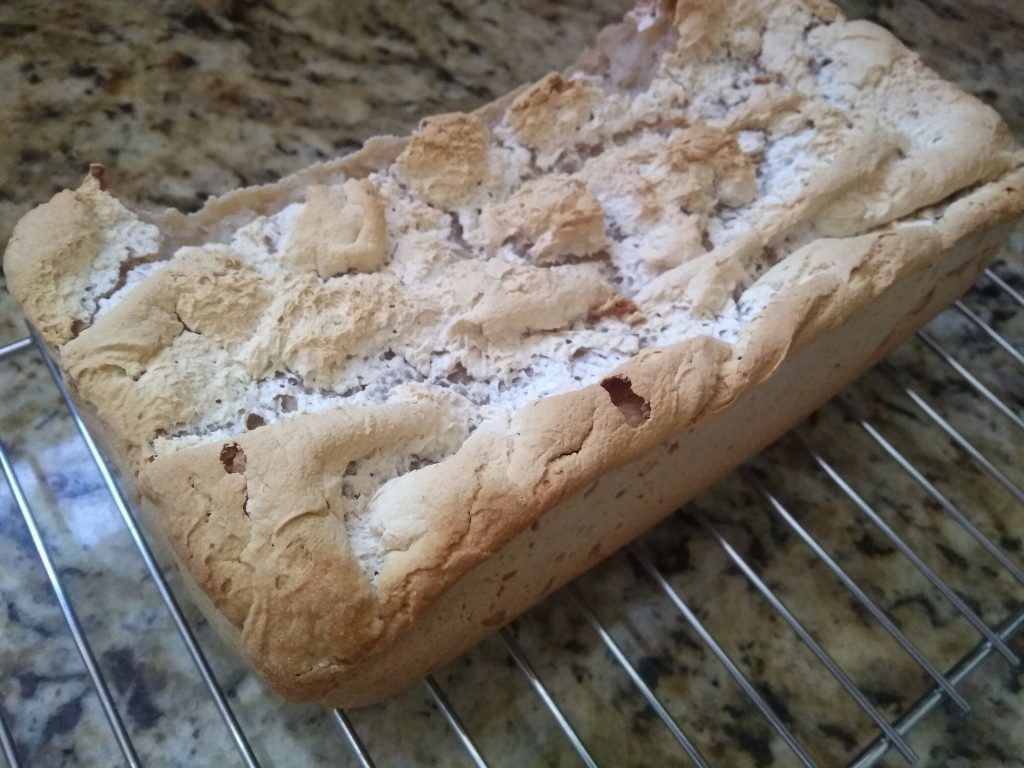
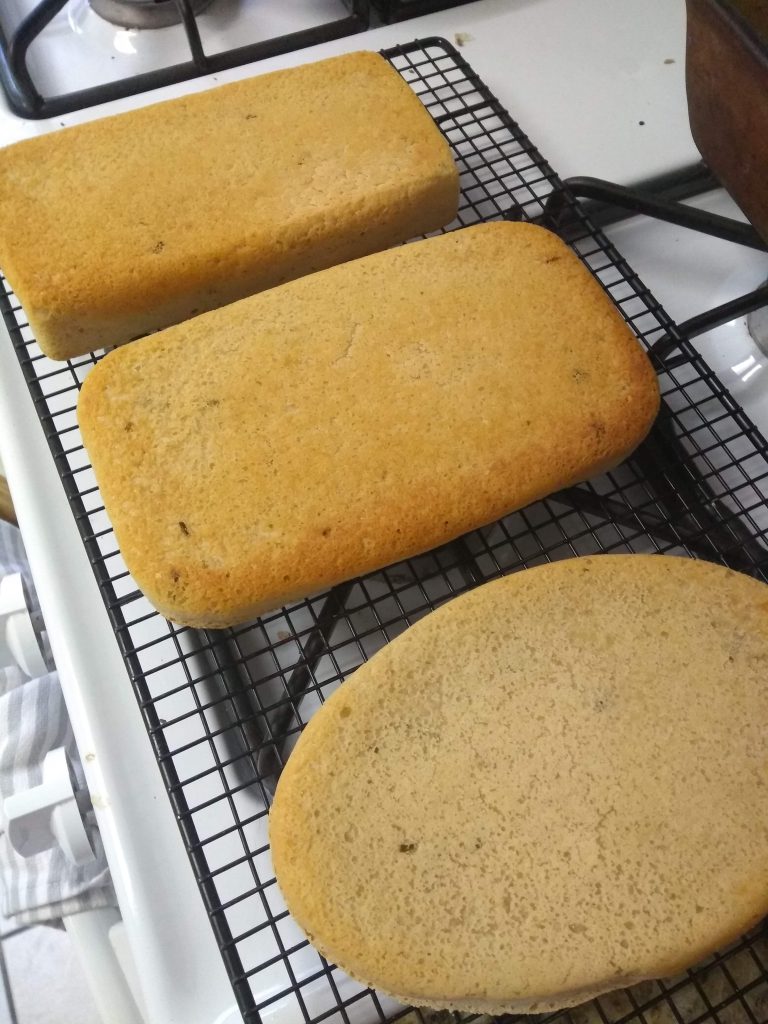
Loaf 3972: soooo close
What a great experiment this has been. So this loaf had the least collapse, and it was along the sides instead of the top. I count that as success unto itself!
Fresh out of ovenAfter sitting overnightNot sure how it “twisted”definitely edible! and loaf shaped
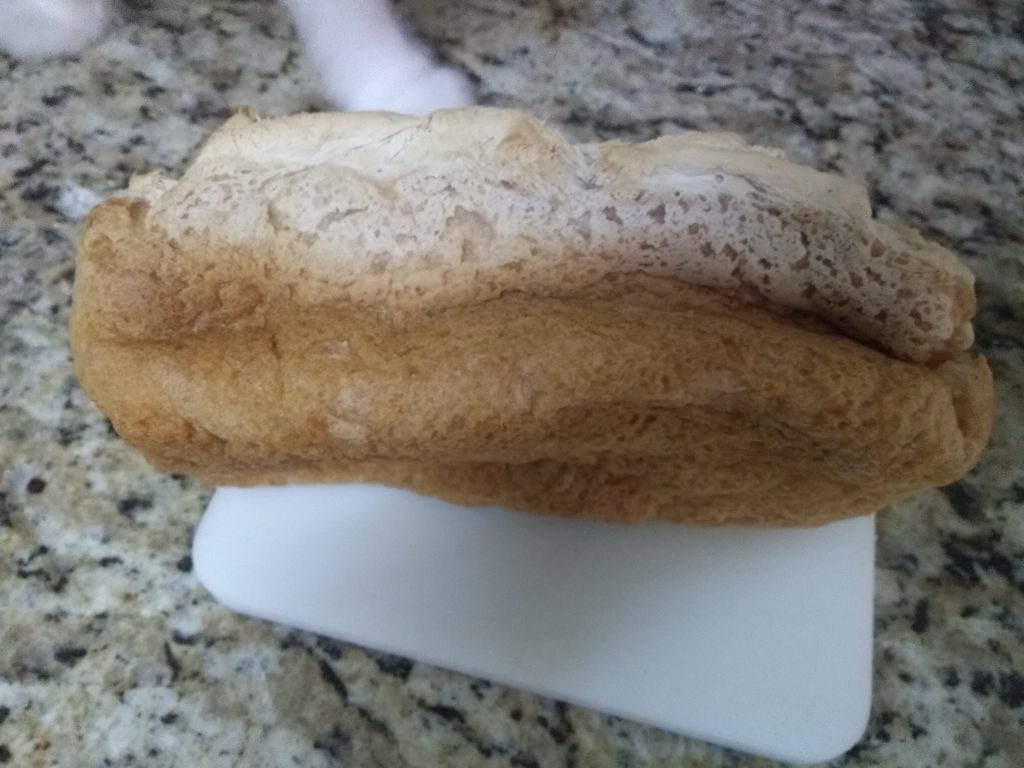
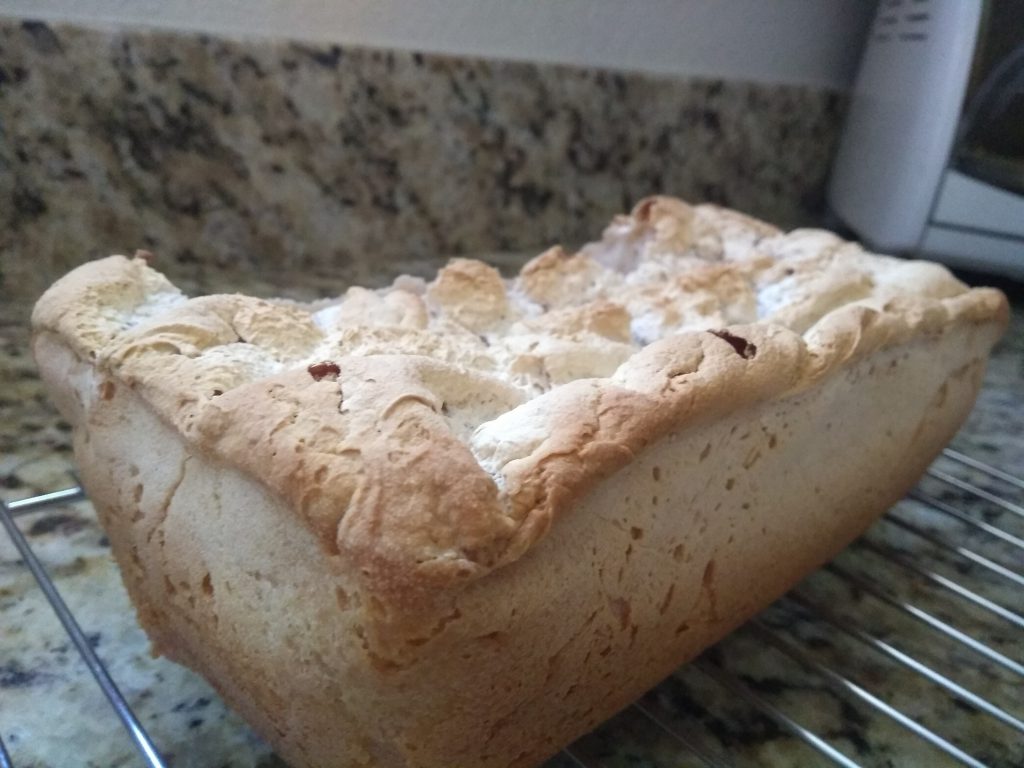
Loaf 3973: I did it!
This loaf – exactly the same. But baked 10 min longer. No collapse at all. I almost cried. I admit, I nibbled the edge of this one to see what the inside was like – yes, it still needed to rest. It may look like that top collapsed in a little, but that was my error, not the bread. I set the loaf in the garage to rise, and had to peel the ‘cover’ off to go in the oven. It pulled a little dough off, and i tried to put it back on. Learn from my mistake. Lightly grease the top, so it comes free easily.
baked 10 min longerCooled, not collapsedand the next morning!
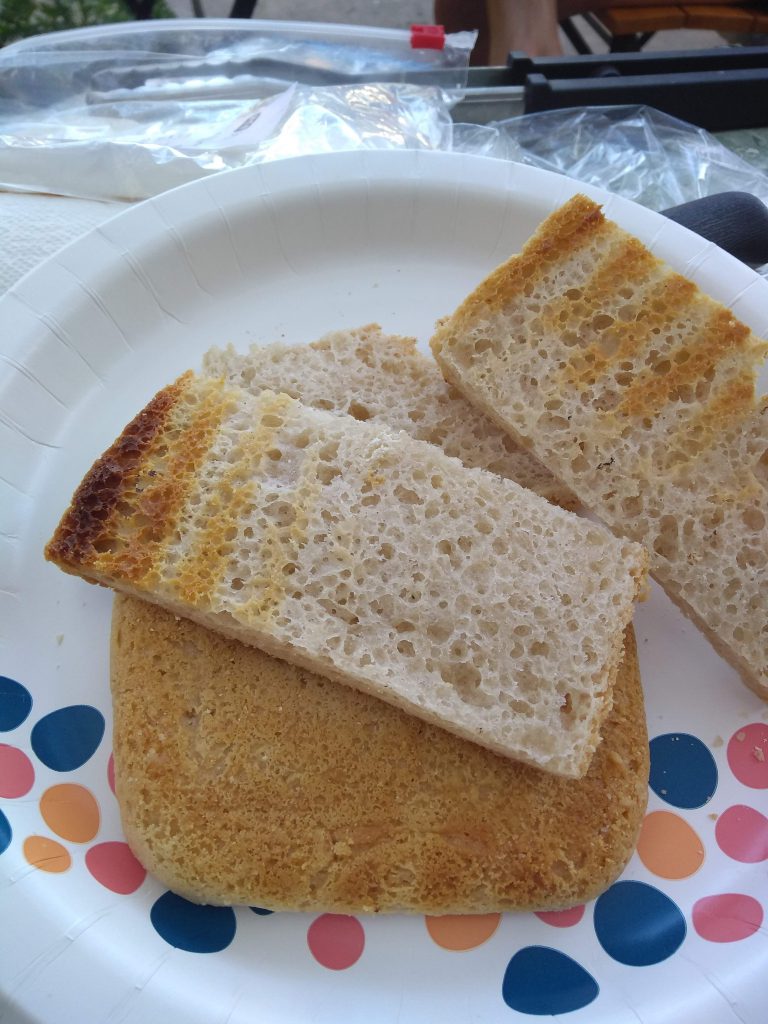
Oh the crust!
And this loaf has a thick, french bread type crust. This comes from 1) stone loaf pan, and 2) preheating the oven to 425, then dropping it to 375 when the bread goes in.
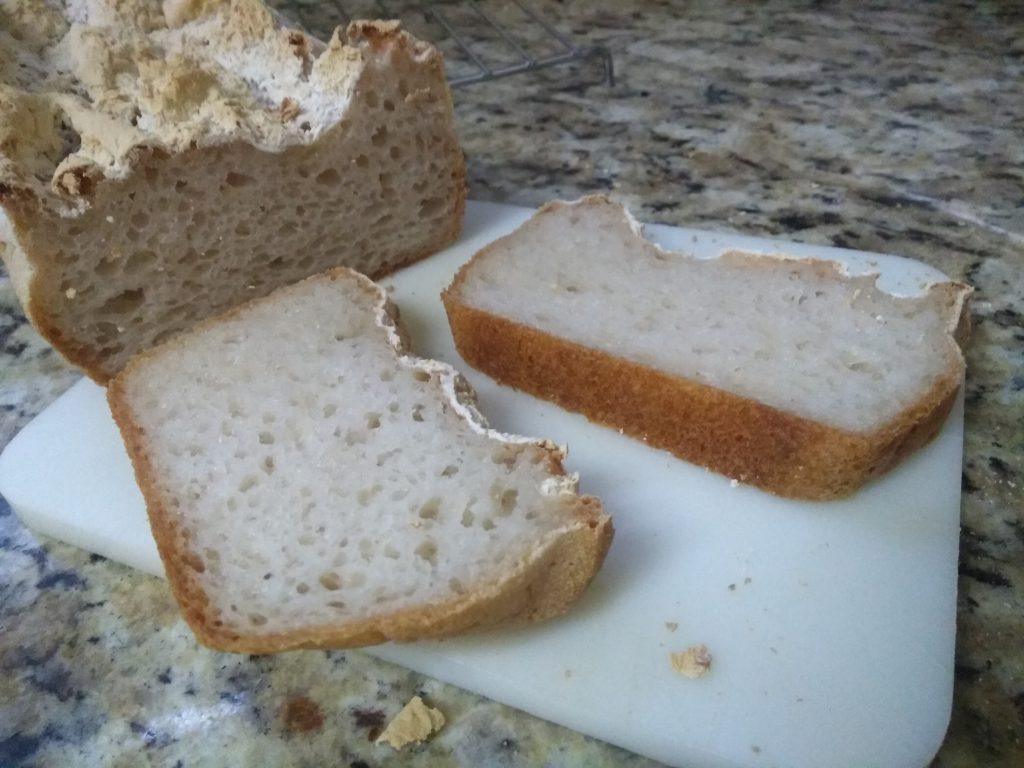
I’ve mentioned the inside is a moist – its on the far FAR edge of doughy, but I think that’s how its gonna be with this loaf. I’m gonna keep practicing, and if you find any useful tips, please share! I do recommend, like all good gluten free recipes, heating before eating. If you’re gonna toast – I’d actually do it 2-3 times, but I know this is totally a personal preference.
Blend the 2 flours thoroughly, then put 2 c of the blend in your mixing bowl. Keep the remaining amount handy. Add all other ingredients, with water being last. With mixer set on low speed, blend for 30s or until all is moist & even consistency. Gradually add in, a heaping spoon at a time, the additional flour, until it is pulling away from the sides & up the beaters a little. Mix on high for 2 minutes, scraping sides.
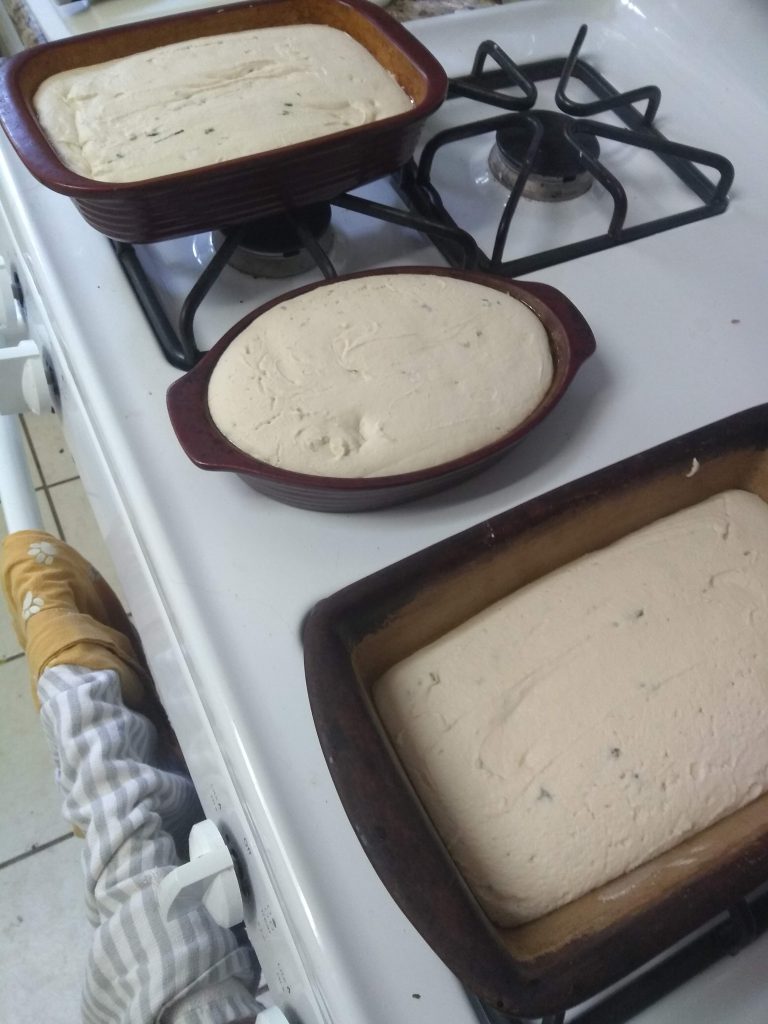
Scrape into loaf pan, and set aside to rise in warm, draft free place. Here in Texas summer, I put it in my garage. you can also turn your oven on to 350F for 3 min, turn off, then place loaf pan inside to rise… if it’s not Texas summer. Keep an eye on the bread, and start peeking around 30 min. When it gets to the top of the loaf pan, preheat the oven to 425 F. Note: If bread is rising in the oven, please remove it first. When oven beeps preheated, place loaf pan in, and turn temp down to 375 F. Bake for 70 min. Bread should be pulling away from the sides.
You will need to play with your baking time based on the pan you use & your oven, and I suggest you think about OVERBAKING it slightly (hence 70 vs customary 60 min), due to the nature of cassava flour.
When done, remove from loaf pan and allow to cool in its side. Rotate sides on occasion. Let bread rest overnight, and enjoy your first slice with breakfast in the morning!
This can also be made into rolls. Bake for about 40 min.
Back in 2005, I was at my yoga training here in Austin Texas (I lived in Memphis at the time), I was having a meal where they had very freshpineapple. I ate a lot of it. I ended up with a very serious inflammatory reaction. And this was the first time I really connected that I was reacting to sugar.
I’ve been having this reaction since I was an early teen. Over the years I minimized my sugar and my fruit, although I did find berries were OK – a different type of sugar. That is, berries were ok until that subluxed rib & torn erector in 2012, and subsequent system reactions that sent me on the spiral. Gradually, even berries had to go. No more fruit in my diet. It was a very sad day when the berries finally left. I loved berries.
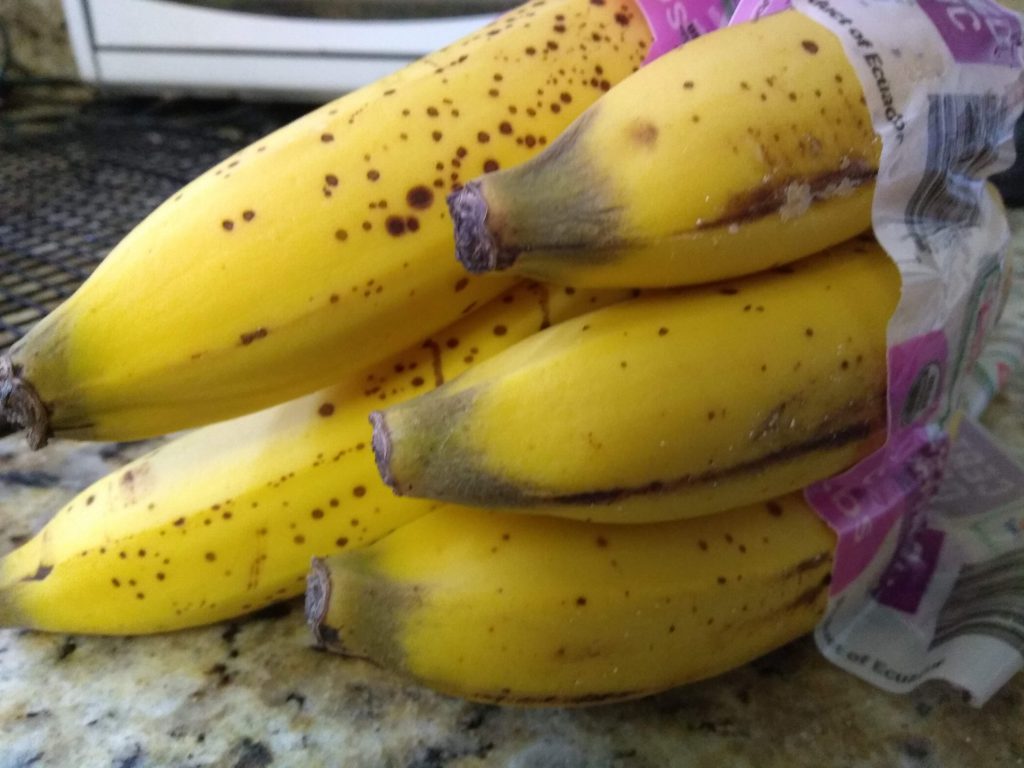
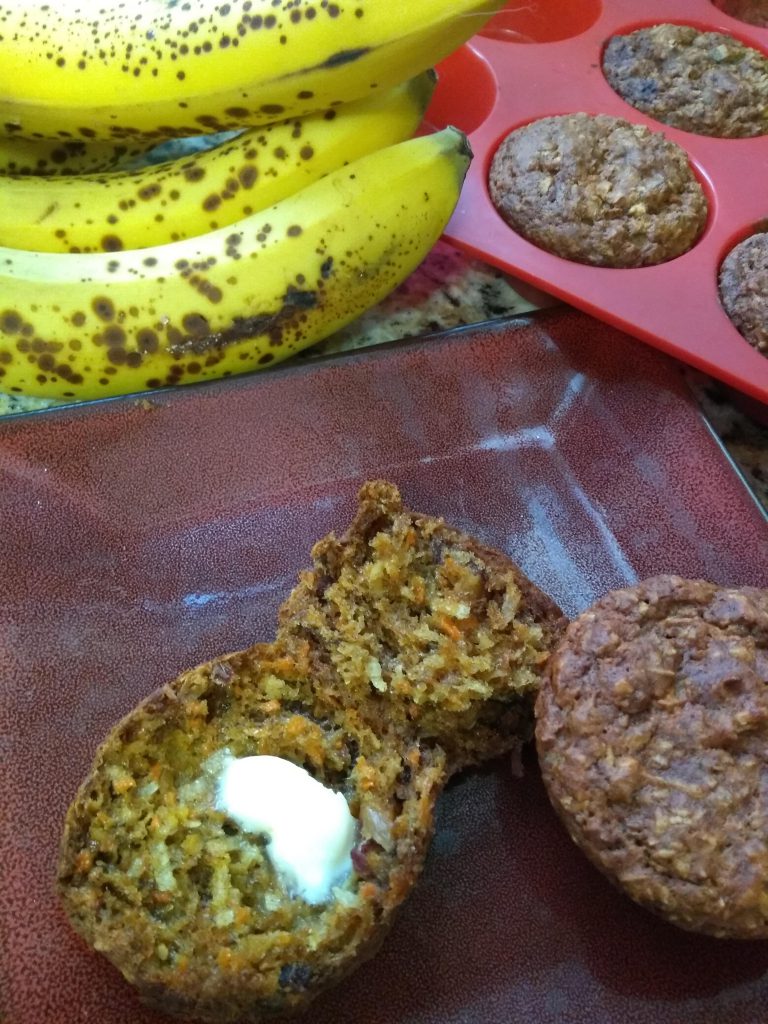
I challenged myself to use the bananas in creative ways
So when I started my immunoglobulin replacement therapy back in the fall of 2019, I experimented with fruit. Not a lot, again taking my time to get back to eating more than air & water. But enough to realize I liked it. I missed it. But since I had all these other amazing vegetables I was adding back in, fruits got put off.
Until Farmhouse Delivery gave me nine bananas in my produce box. Not being a huge banana fan even when I was a youngster, I challenged myself to get them all used within 9 days (Gone in 7, thank you!). And I prefer my bananas green. Let’s say that these bananas did not stay green. They went brown fast. Not a big smoothie person either. Banana bread is “eh”.
So I did my thing. Let’s #playwithmyfood to keep it interesting!
Banana 4: ate it straight out of the skin (it’s not green anymore)
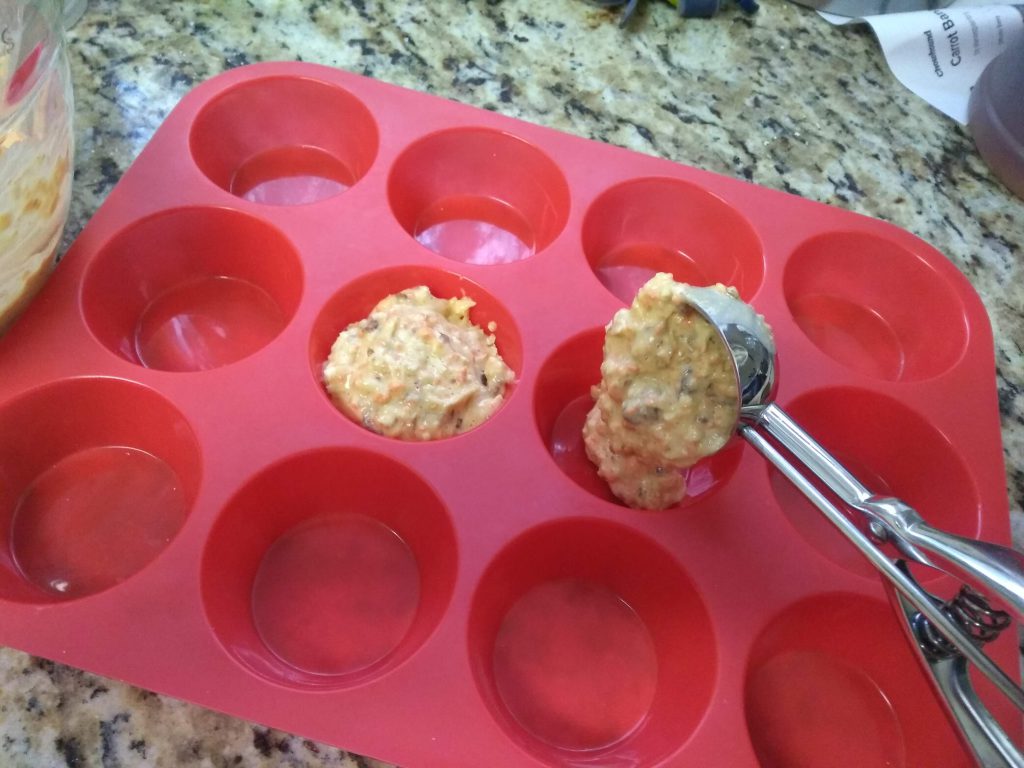
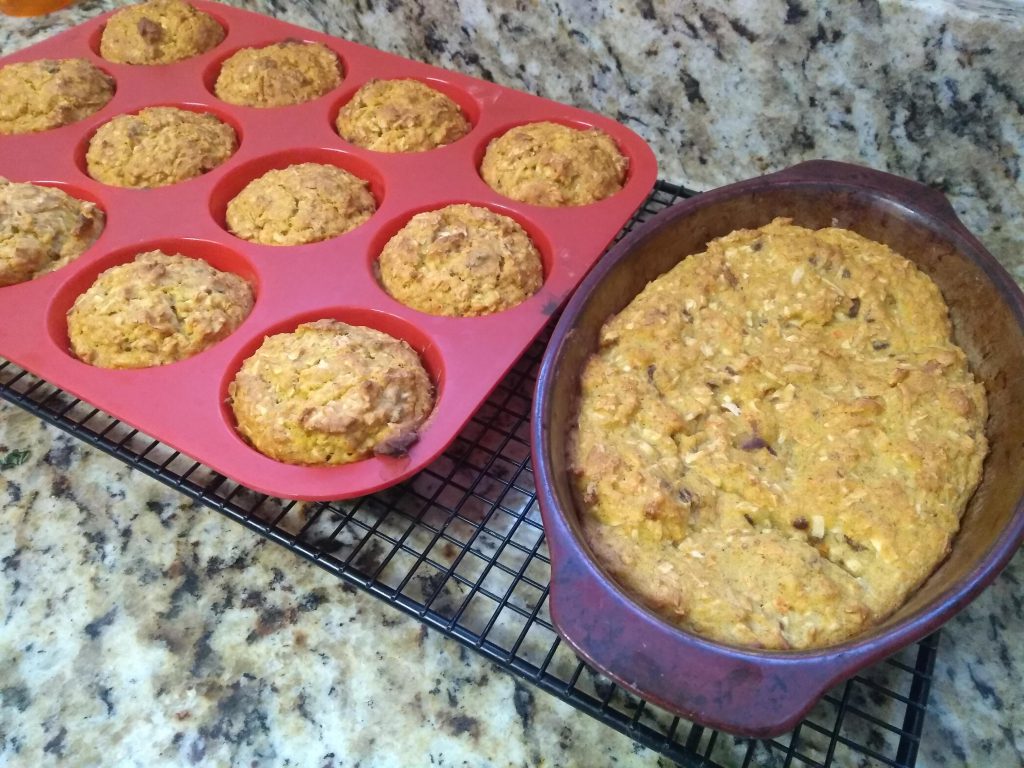
Banana 5: Banana-Carrot-Coconut muffins
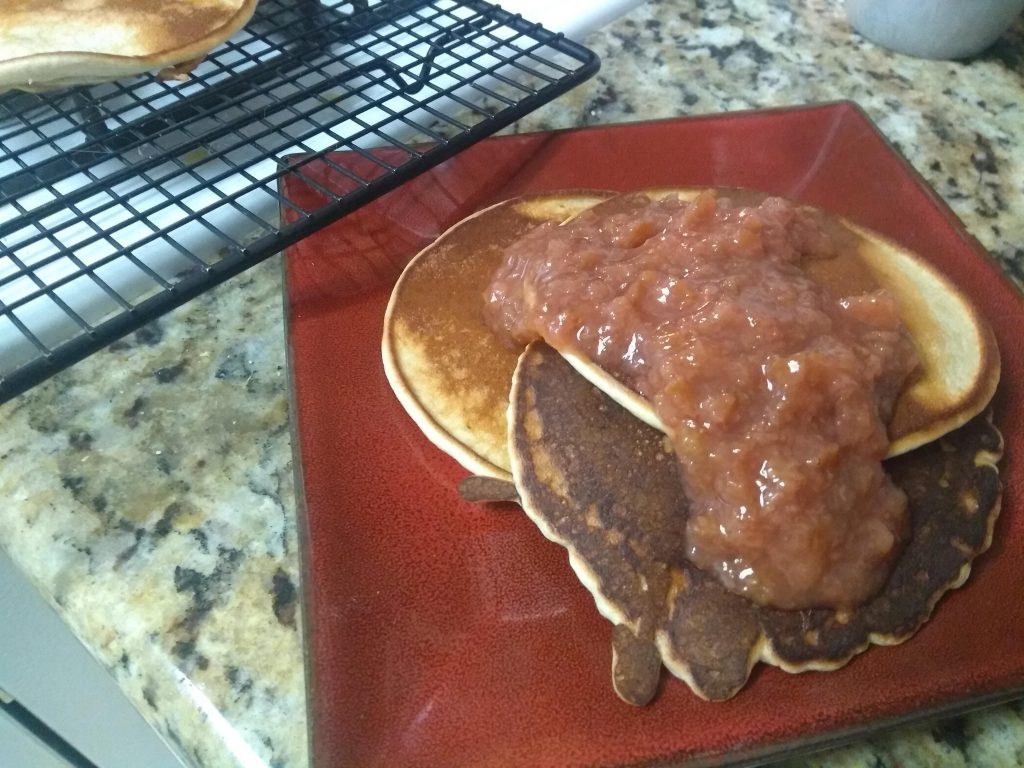
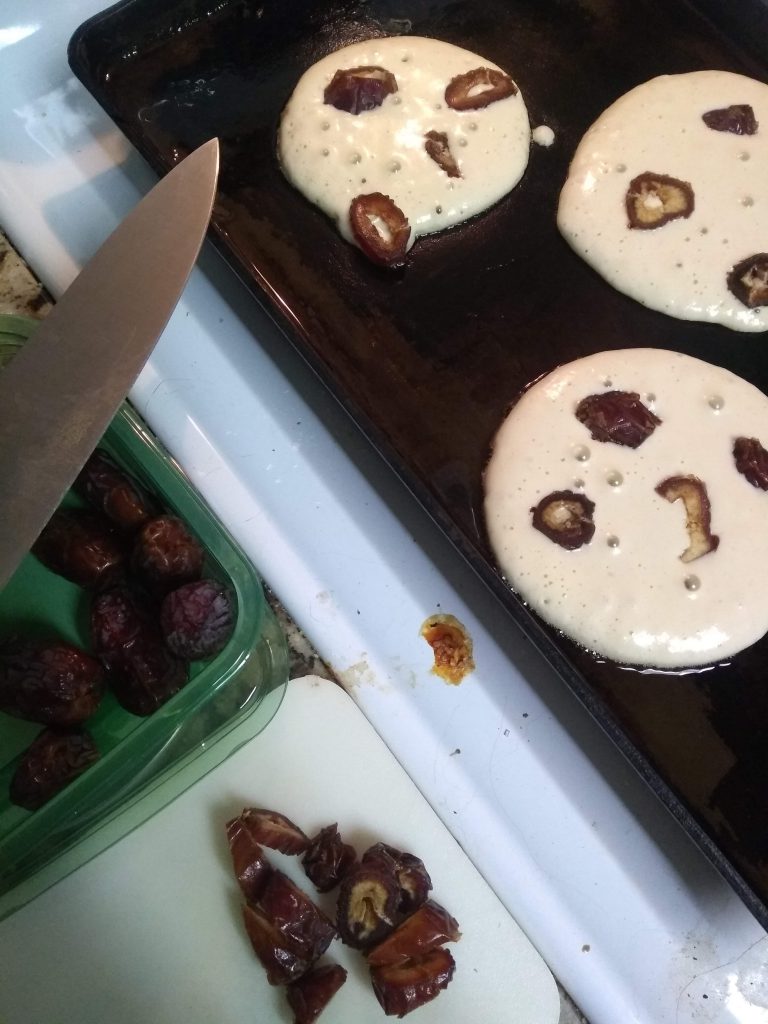
Banana 6 Banana-Date pancakes
Banana 7, 8 & 9: new & improved Banana-Carrot-Coconut muffins
As I’m researching, playing, testing, I’m noticing that everyone wants to add sugar. You’ve got all this fruit awesomeness, why do you need sugar? I leave it out. I added a little into the muffins as Banana #5 was a little… off. It needed just a touch to smooth it out. And my little 1 tsp of agave worked.
I’ve got the muffin recipe for you! Measurements and everything! Depending on how many bananas you have, it’s easy to break the recipe in thirds: 1 banana = 6 muffins, 2 = 12, 3 = 18. New math and all (hahahaha).
Banana-Carrot-Coconut muffins
18 muffins. Preheat: 350F.
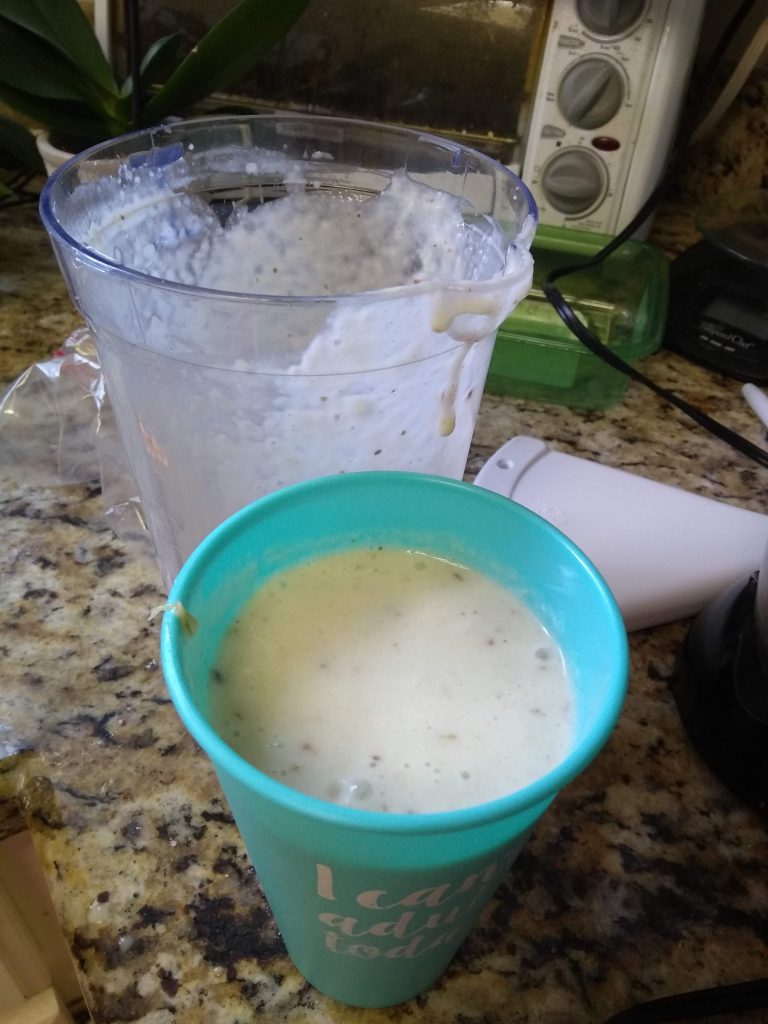
Into your food processor goes:
3 bananas
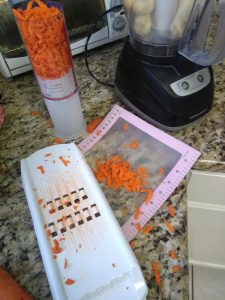
1.5 c shredded carrot
1 c sliced dates
3 eggs
1 tsp Apple Cider Vinegar
1/4 c oil of choice
Blend thoroughly, til the dates no longer make the processor bounce around on the counter. You think I jest. Try not cutting them & see what happens.
In a large bowl, combine:
1 cup Cassava flour
1 cup Arrowroot flour
2 tsp baking powder (know your ingredients)
1.5 c shredded coconut
1 tsp agave (more or less to taste)
Add the food processor contents to dry ingredients, blending well. Bake at 350 for 25-30 min. Like previously mentioned in the Pizza post, let them sit til cool. Texture will be so much better. Enjoy.
Banana #5… the precursor to 789
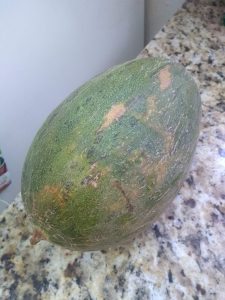
And now, on the my next fruit from Farmhouse Delivery…a Piel de Sapo melon. I’m gonna have to google it. No clue. Watch my journey with this melon on Facebook & Instagram, unless I come up with an interesting recipe, in which case, you’ll read about it here!
Joy of Cooking. It was my favorite cookbook as I was growing up. And the one I brought with me when I left for college. While mine is certainly outdated by now (copyright 1975), I have learned – and continue to learn – lots of good things from it, and still serves as a basis as I explore new foods. This book of knowledge has influenced all of my baking greatly as I create my #sharonfriendlyfoods. I know it’s easy to go look things up online today as you have done to get here, but it’s also nice to have a foundation in something. The jacket on this cookbook is well-worn. I love it the way it has stained. I have notes in the margins. I cross things out. I add my own ingredients. I have a sticky back for my commonly used pages. Joy of Cooking laid the foundation for where I am right now.
One of the features I’ve been using of late is “Know your ingredients.”
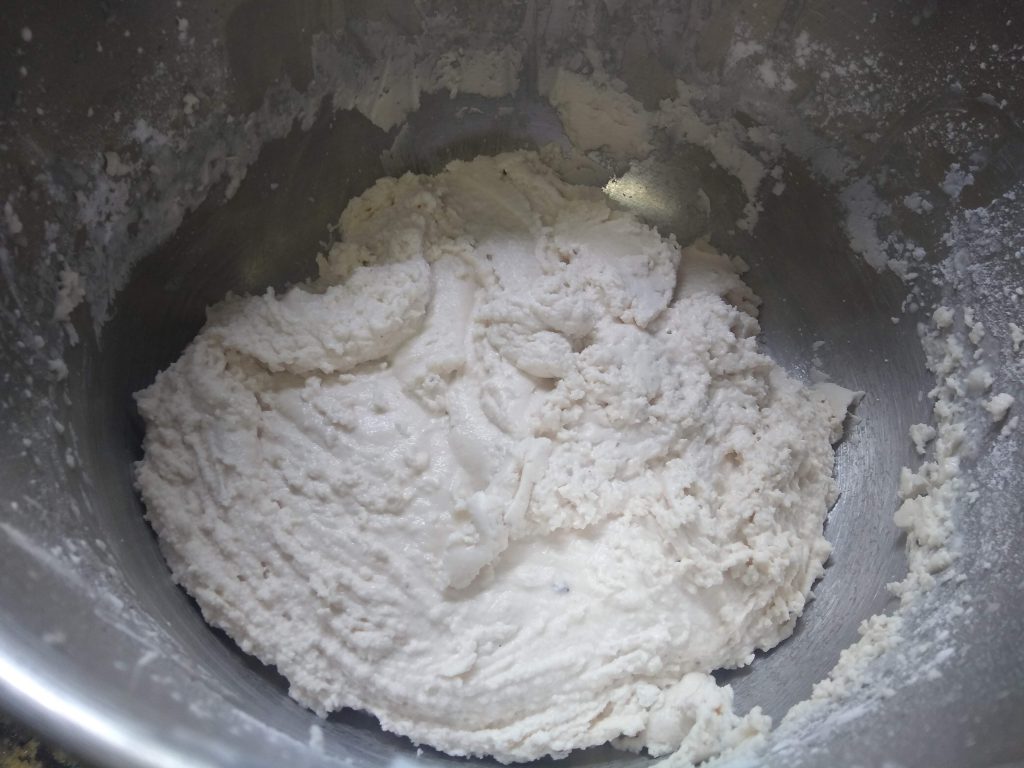
Bread dough with Cassava flour – that doesn’t look quite right…
While my version of Joy of Cooking does not have a mention of cassava flour in the flour section (it is mentioned elsewhere), it does have some interesting information on other flours such as
With whole wheat allergy substitutes sift together 6 x 1/2 cup cornstarch and 1/2 cup of the [gluten free flour].
Use 2 teaspoons of baking powder for each cup of flour mixture.
If using cornstarch or rice flour, be sure to avoid the waxy types [of flour].
Interesting, huh? So good info even though it may not be completely up to date, and it gives me a basis for and the foundation for wanting to know more about my ingredients.
The first time I felt successful – making the smaller rolls
As I explore cassava flour, I’m finding out lots of interesting things in my efforts. It sometimes feels like expensive learning, especially during these lean COVID times. Keep in mind a 5 lb bag is about $18 from Amazon. Arrowroot flour – the other one I use – is $15 for 4 lb.
As I embark on this journey I’m sure I’ll be sharing more things with you, but today’s post is going to be about cassava flour bread – grain-free, gluten-free, corn-free. I admit I have been missing bread terribly. Every now and then I just want to cry but I’ve been craving of late is a cucumber sandwich. I have a friend that never heard of a cucumber sandwich and she’s my age. That boggles my mind. I digress. So as I’m exploring the use of cassava flour, I admit there have been several duds – and by this I mean only compost bin worthy. It’s like you’ve used too much gluten substitute. But I didn’t have any in there. The one where I did equal parts cassava flour and starch flour has been the best, but then it collapsed as it cooled. So I’m wondering again from Know your ingredients, if, like muffins,can you overmix or something, does it also collapse? Or is it just me?
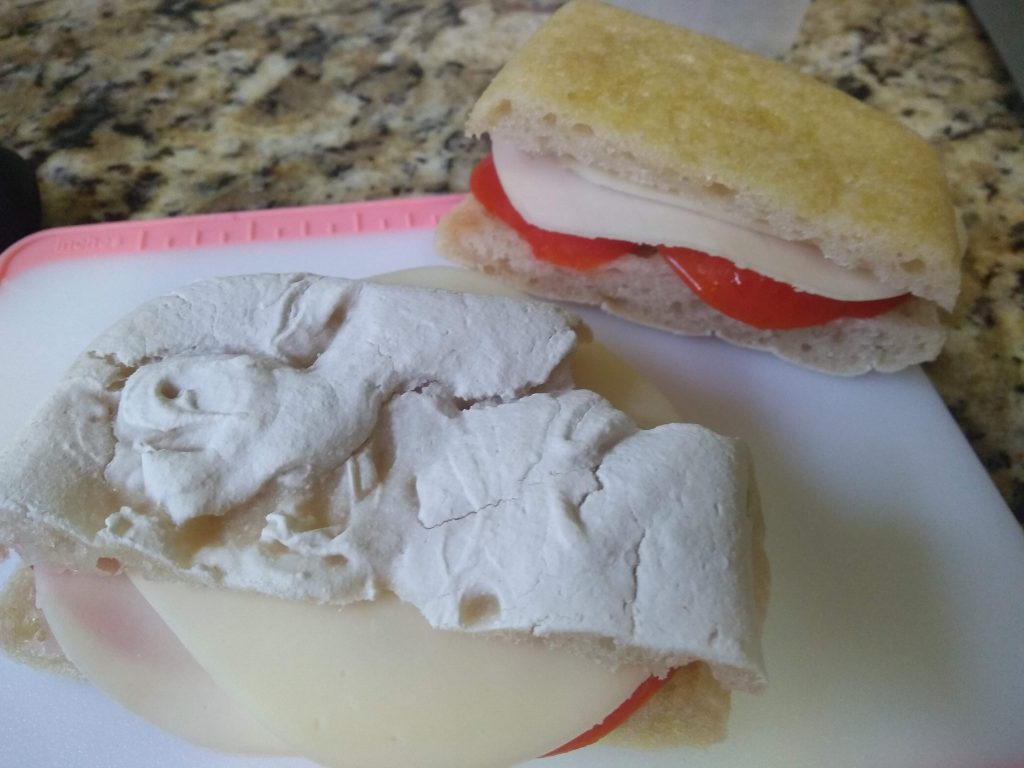
Tomato & provolone on Cassava flatbread
In order for your bread not to collapse after baking, you need to create a framework for it. In regular bread, the protein from gluten does that. So cassava flour has protein per 2g per 100g of flour (2%). The common bread flour should have a protein level of 11%. “Strong” flour, 14% protein content. We don’t have that here. Cassava needs structure. So I’ve been playing with Xanthan gum.
Making of the cassava flatbread, and then the grilling of it.
Observations on Cassava flour:
It’s very dense. Which is OK for pancakes, not for bread.
It absorbs liquid like nobody’s business. Use more liquid, or less flour if you’ve no xanthan gum in there.
It CAN give you that nice “regular bread” texture and taste. I’ve been successful in getting that, albeit in a “flat bread”
It plays well with cornstarch or arrowroot powder.
The extra baking powder makes a HUGE difference.
I’ve tried the “paleo cassava bread” – eh, not my cuppa tea. 4 eggs. Very dense. I want light and fluffy. So I continue my journey.
Paleo-Cassava bread – quite dense. I want fluffy.
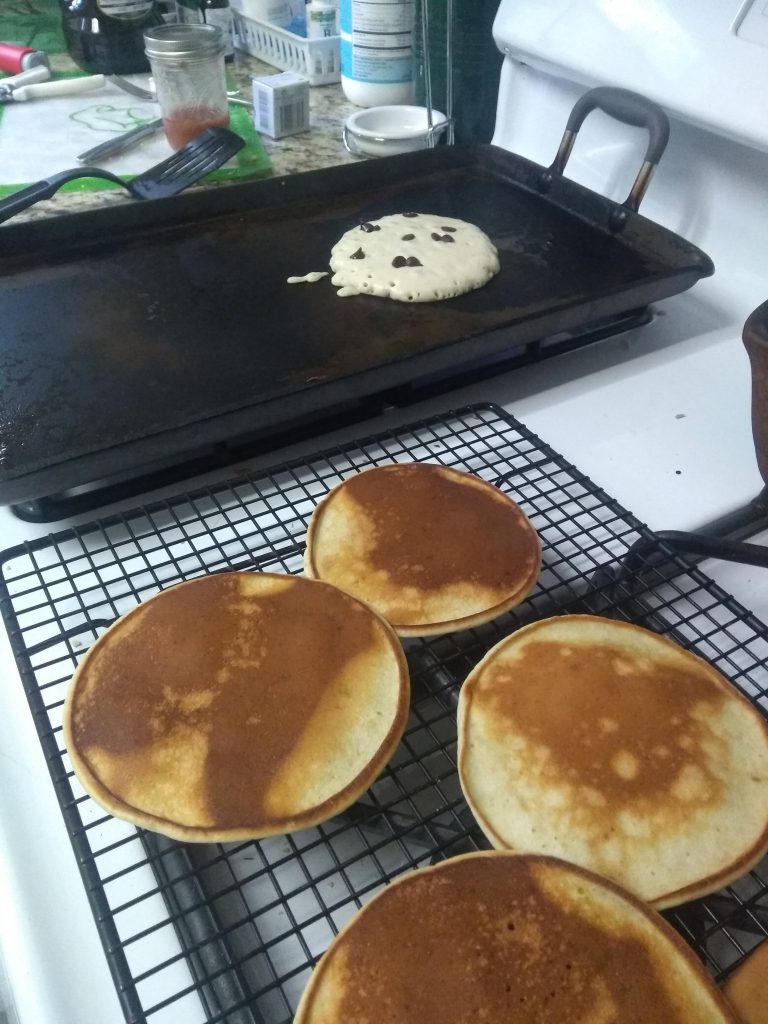
I know you want a recipe for today – and I’ll give you one, but its not for bread. Yet. It’s for some amazing pancakes – with straight cassava flour, and a bit extra baking powder. Realize, I just toss everything into my magic bullet – no measuring. So I’m going to encourage you to do the same – play with your food! Or start with your favorite recipe, and go from there.
Banana – Chocolate Chip – Figgy Pancakes
Into your Magic Bullet (or blender type thing):
1 egg
Milk of choice
1 banana, peel removed
Cassava flour – a few spoons
Baking powder
More baking powder (2x what you’d normally use)
Oil
Blend, adding more milk or flour as needed to get a consistency for the type of pancake you enjoy.
Heat your griddle, oil if needed, and then pour the pancake batter on. Add chocolate chips to each pancake – you decide how many. I use chocolate more as a seasoning, but you may want more. When your bubble appear & disappear, flip. Oooo and Ahhhh over how great they smell & look. Cook a few more minutes till done, then top with sliced figs, homemade fig jam, and anything else you choose.
No, there’s no sugar – you’ve got the banana. You don’t need it. My fig jam in the pic is homemade (also no sugar).
I know, you want the bread recipe. It’s coming. I’m playing. Still.
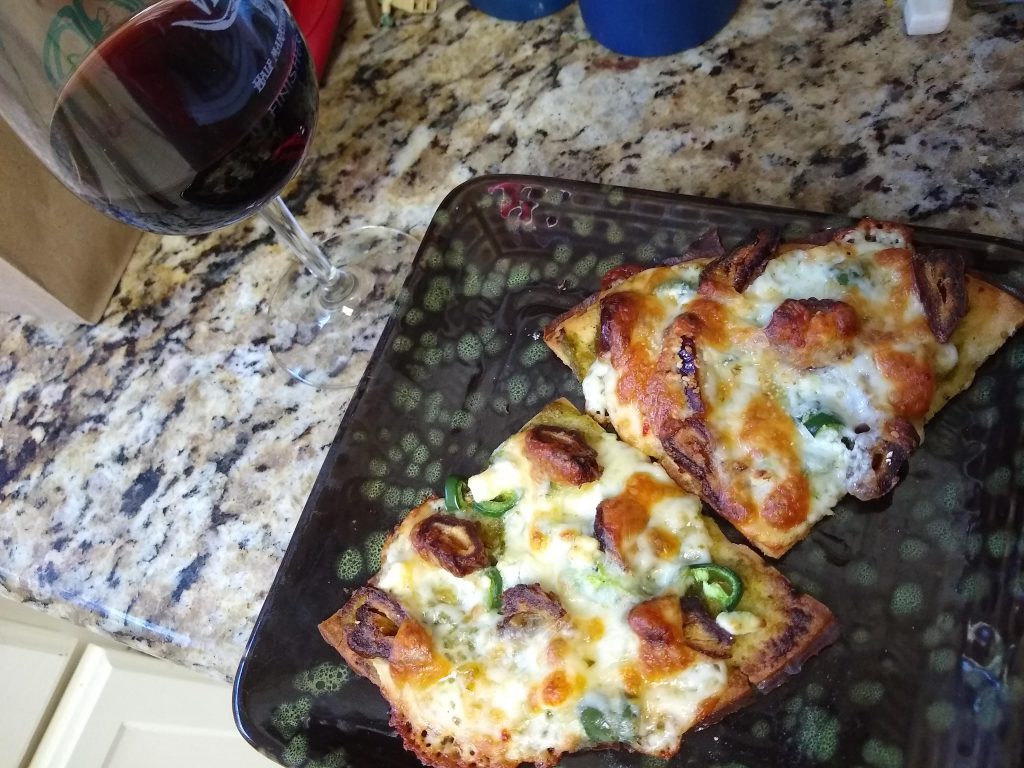
I started on immunoglobulin replacement therapy in late 2019, and was testing and adding things in slowly. When I was finally able to start playing with my food again, one of the first things I decided to make was Pizza. I missed Pizza. I craved Pizza. Pizza happened in December, and there’s been no going back!
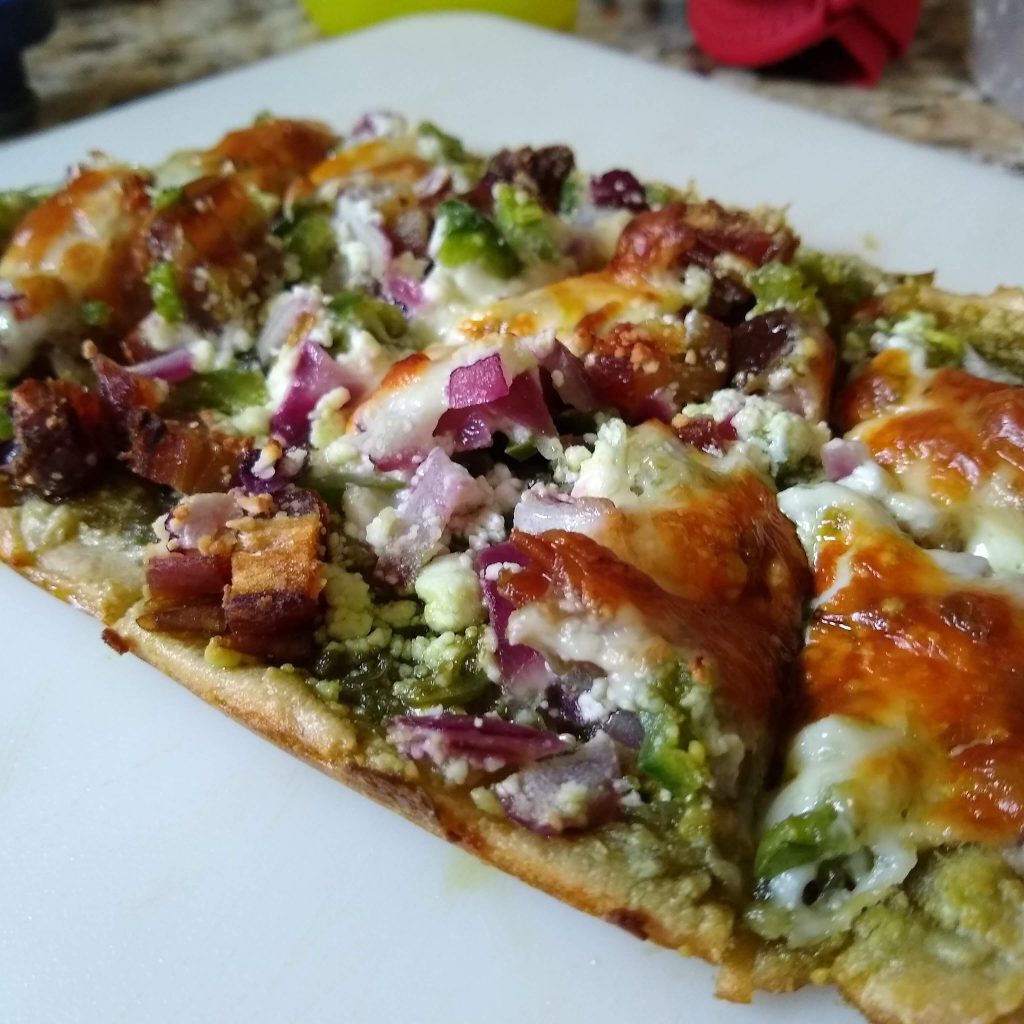
The Sharon Original: date, jalapeno, goat cheese, red onion
Pizza.One of those feel-good, nice and cheesy, warm things that just that soothes the soul. The first pizza that I made, I was actually a craving – date, jalapeno, goat cheese, & red onion. Some friends looked at me weird, some said “oooooo”. It was so good. I think I had that twice a week for the first month and then I decided to move on to something else. And buy ‘something else’, I mean a different Pizza. Since then it’s kind of been “what do I have in my fridge?” And I’ve come up with some interesting combinations.
As I’ve been exploring with Pizza, I’ve also been exploring pizza crust. I’ve happened on this one, a nice thin crust that is, of course, gluten/grain-free. I do bake my Pizza on Pampered Chef stoneware, being a former Pampered Chef consultant (twice even). I have given away several PChef things over the years when I thought I wasn’t going to be eating such things (ie: tomatoes) again. I kind of regret that now. But I’m okay. I’ll manage until such a time as I get them again.
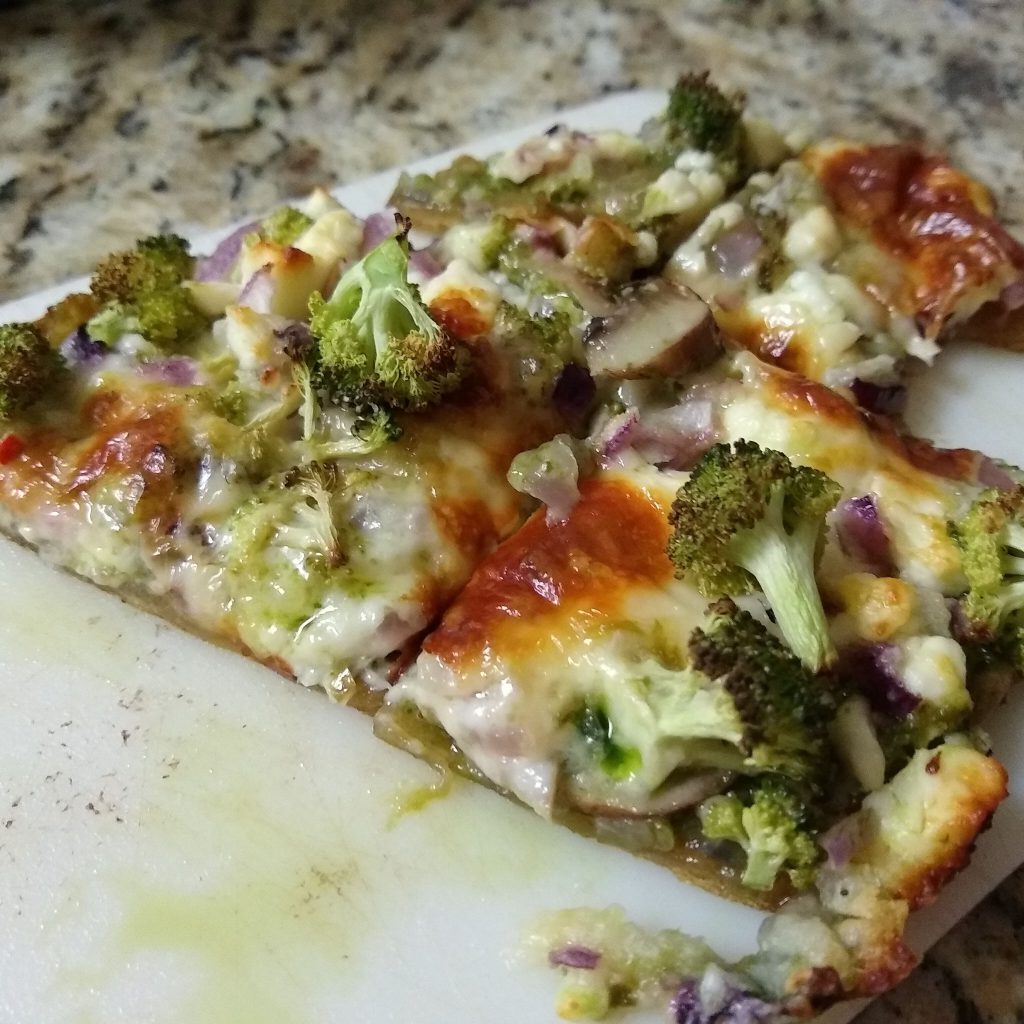
Broccoli, red onion, feta. mushroom
Back to Pizza. I cook my pizza on a pizza stone, and I have learned to use parchment paper cuz it just pulls out and it’s ready to eat faster. I have also typically use a homemade basil pesto sauce, though in recent weeks I have been using a tomato based one. With all the fresh grown basil that I have in my garden, I really prefer that. I know you’re probably wanting recipes for all of these, but honestly, this is one of those things where I completely eyeball it. I’ll do my best.
The basil pesto.
Into the Magic Bullet goes olive oil (enough to make sure it blends), basil, shallots, garlic, a pinch of salt. Lots of basil. Overwhelm that Magic Bullet with basil. Blend until desired consistency and then freeze in either in ice cube trays or silicone muffin cups.
The pizza crust.
1/2 cup flour of choice.
baking powder: if using gluten-free flour 1/2 teaspoon, otherwise 1/4 teaspoon.
Pinch of salt.
1/4 cup water.
Crust after pre-backing (post- pre-baking????)
Mix and press into your pan. Add water or flour, if needed, til it holds together well.
Baked at 450 for 10 to 15 minutes, or until partially done. On stoneware, might be more like 15-20 minutes. Its still gonna cook with the toppings on, but it’ll be a better texture if it’s pre-baked.
The toppings.
As you prep your toppings, I have found it 1/2 cup is about right amount for this personal pizza, and think more than that and it gets a little bit overwhelming to handle.
Date, red onion, broccoli, feta
The cheese.
Experiment. Be curious. Play with your cheese.
The baking.
Put you’re prepared Pizza back in the oven for about another 15 minutes, or until your cheese melts, still at 450 degrees.
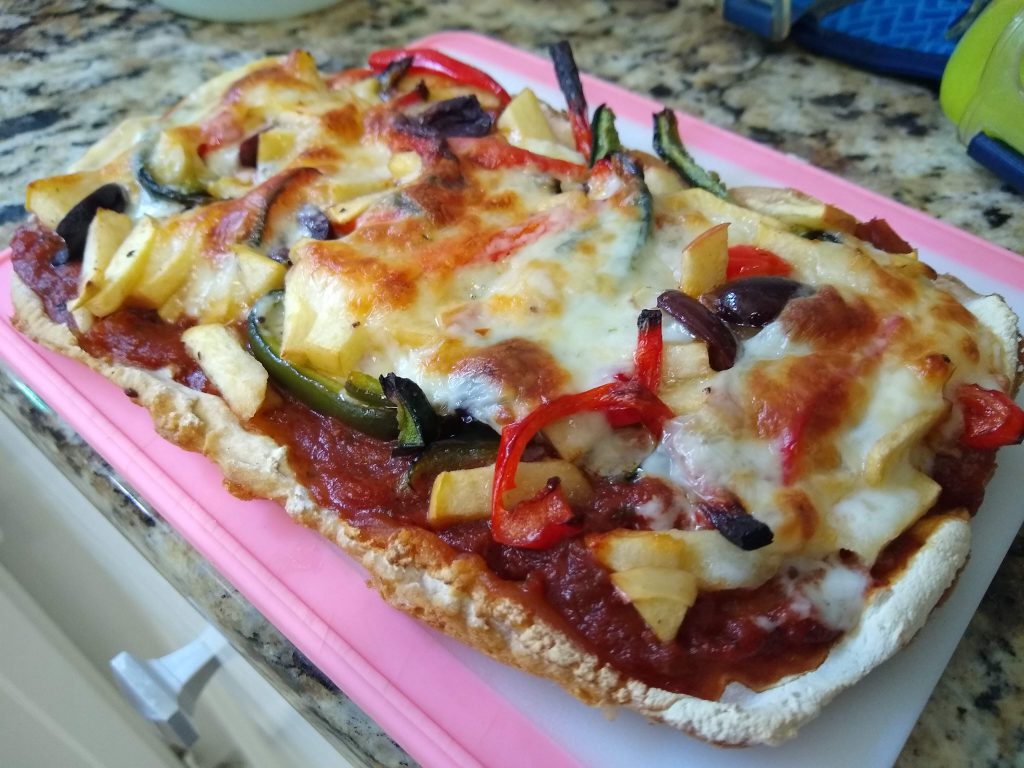
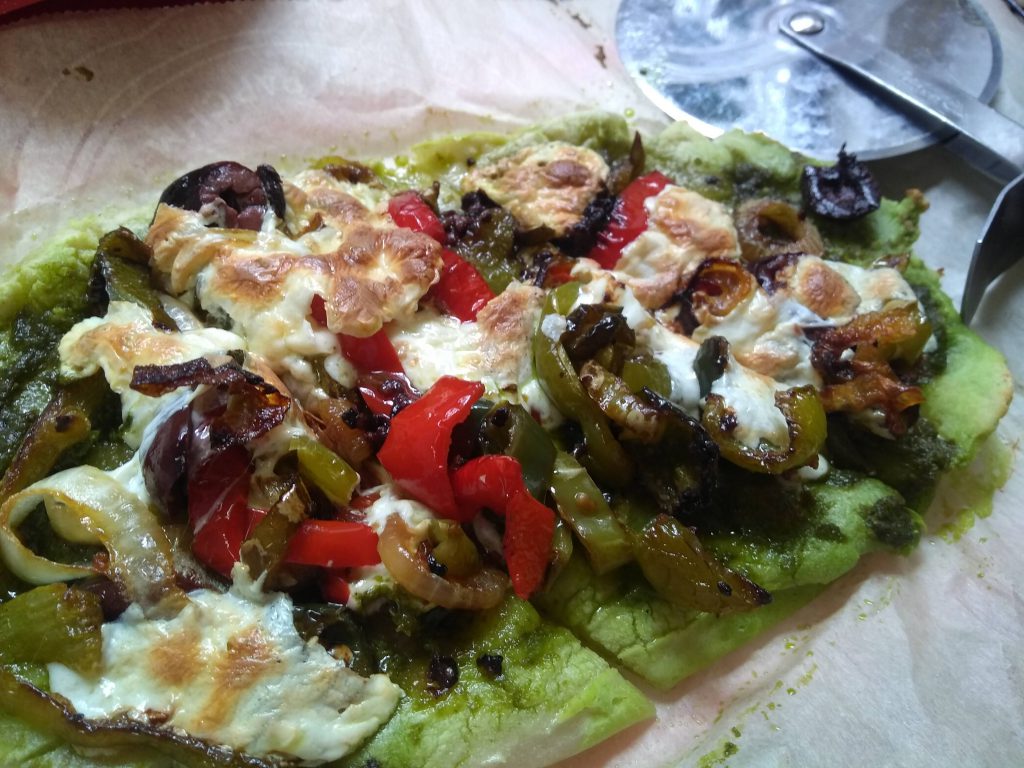
Pablano, red & jalapeno peppers, black olives… and it looks like some apple?
The eating. Oh the variety!
I tend to slide the parchment paper on to a small cutting board (you can see in pic above), cut it, and eat straight from there.
Your Pizza topping are only limited by the choices in your frig/pantry/cupboard. As you’ve read before – go play with your food!
Triple pepper, kalamata olive, yellow onion
The one with okra was my least fav (not pictured).
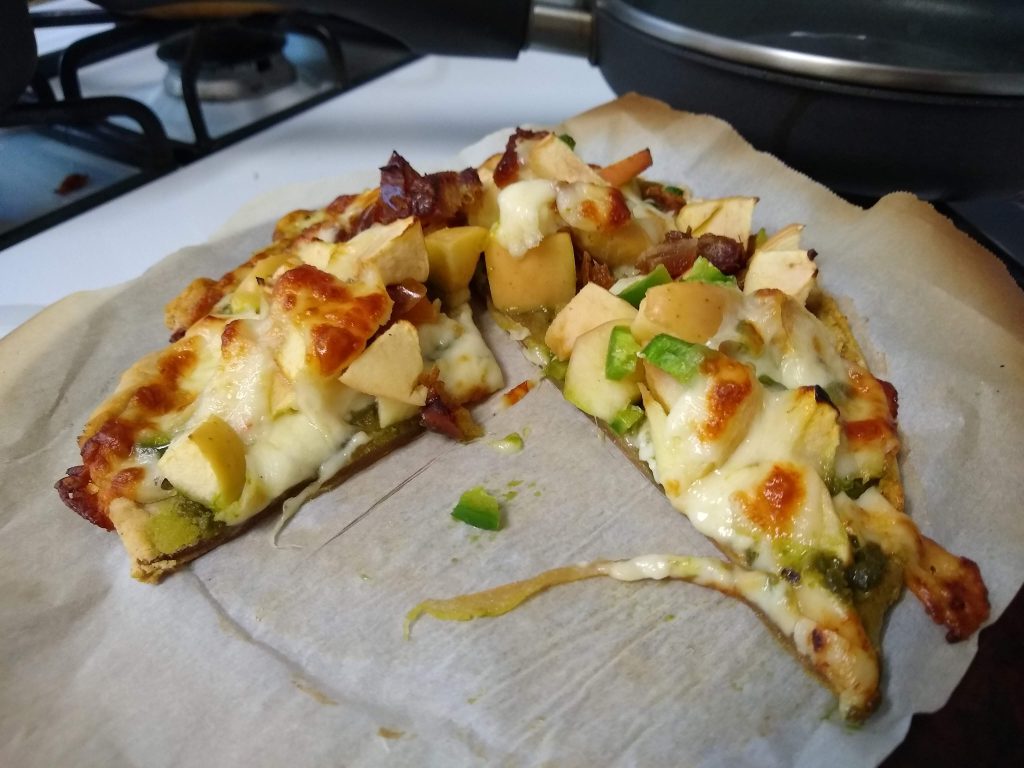
I’ve even tried an apple pizza. It was ok. Need to experiment with fruit more…. Hmmm… I do have a fig jam that might be a good “pesto”…
Apple, jalapeno, date
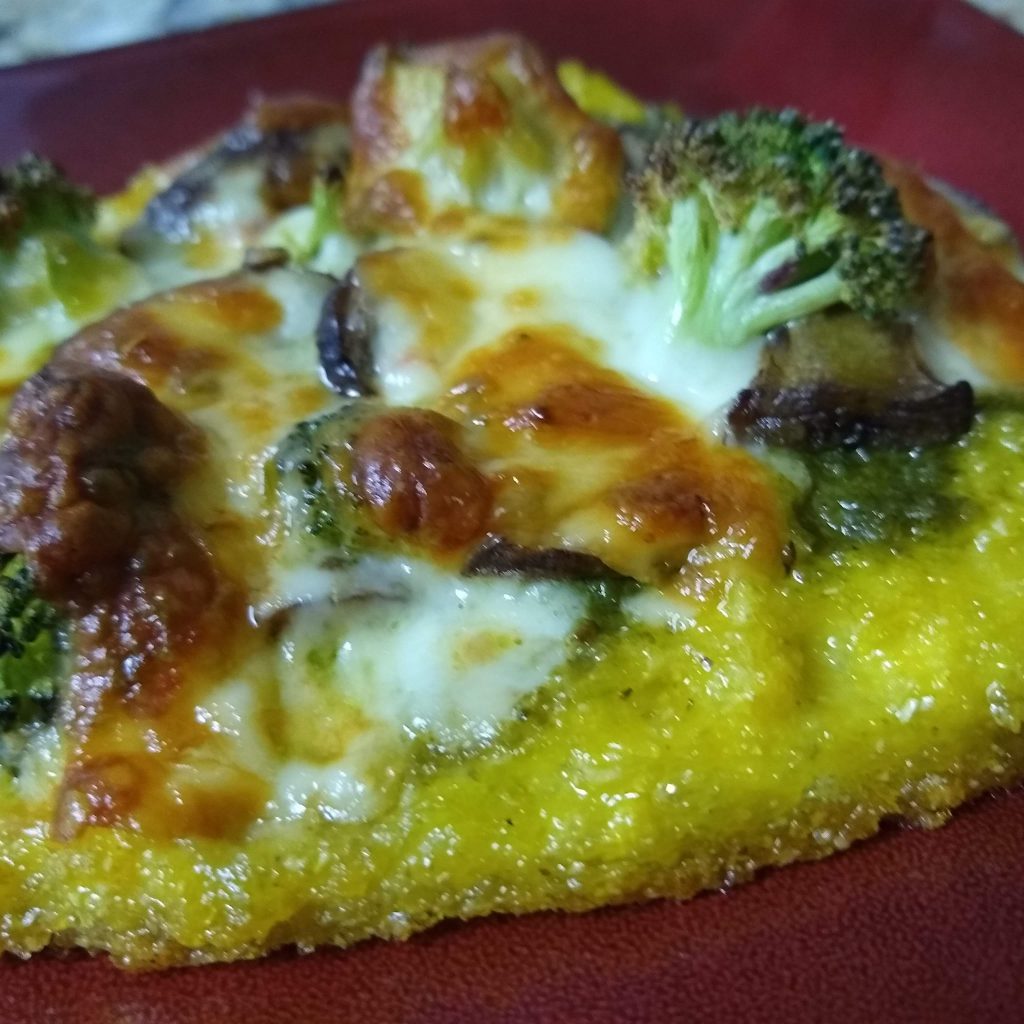
And, somewhere in the mix, I explored a polenta crust. But that’s another post.
Polenta pizza with broccoli, kalamata olive, red onion
Up until August 2012, I had what I assumed were the standard food allergies; gluten, soy, dairy, sugar. In August 1999, I was at my interview to be Fitness Coordinator at Ole Miss (1999-2002), had a portabella mushroom burger for dinner, and was up all night – that food was off the list. I was doing okay managing, and then 2012 happened. The Year of 5 Injuries: jammed fourth finger, my VMO acted up and I tore the Sartorius in the process, I subluxed a rib and tore an erector and…. I don’t remember the other two at this point. Anyway with the subluxed rib, which I got from a very strong allergic reaction cough, that kind of cough where you want to puke, I ended up with an undertone flush anytime I would eat things processed. This started my downward spiral with food. Over the next several years I had to take away nightshade’s (tomatoes, eggplant, all white flesh potatoes, etc), nuts, beans, peas, meat, grains, all mushrooms, leftovers, all fruits, and anything processed.
I went to a neuro-immune specialist in 2015, and was diagnosed with a high histamine response. I got put on his program, but despite spending a lot of money on supplements and prescriptions, it got no better. My food list kept shortening. I saw a new internist early in 2019, and she ran numerous tests of all types, casting a wide net to figure out what was going on. I was finally diagnosed with immunoglobulinemia, and then sent to an immunologist who changed that diagnosis to hypogammaglobulinemia.
And the immunologist tested for food allergies. None. Zero. Zilch. Nada.
I finally got started on immunoglobulin replacement therapy in October of 2019. I got FOOD back. I can choose to be a vegetarian now. To complicate things I have also been going through peri-menopause for several years now, and with getting food back and continuing to have some reactions, I’ve read and study about both immunoglobulin replacement therapy and menopause. My reactions to grains, peas, beans, nuts, seeds is due to menopause. So I have had to keep those out, but I’ve been able to add in everything else – compared to my former list, this is nothing (it’s all relative, right?). I still have to be careful with dairy and sugar, but those are okay since they are inflammatory anyway.
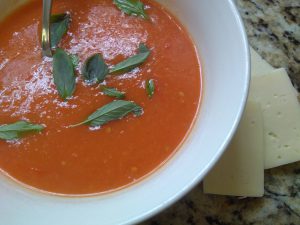
Which brings us around to chilled tomato soup and a grilled cheese sandwich.
Chilled tomato soup, fresh basil, and havarti
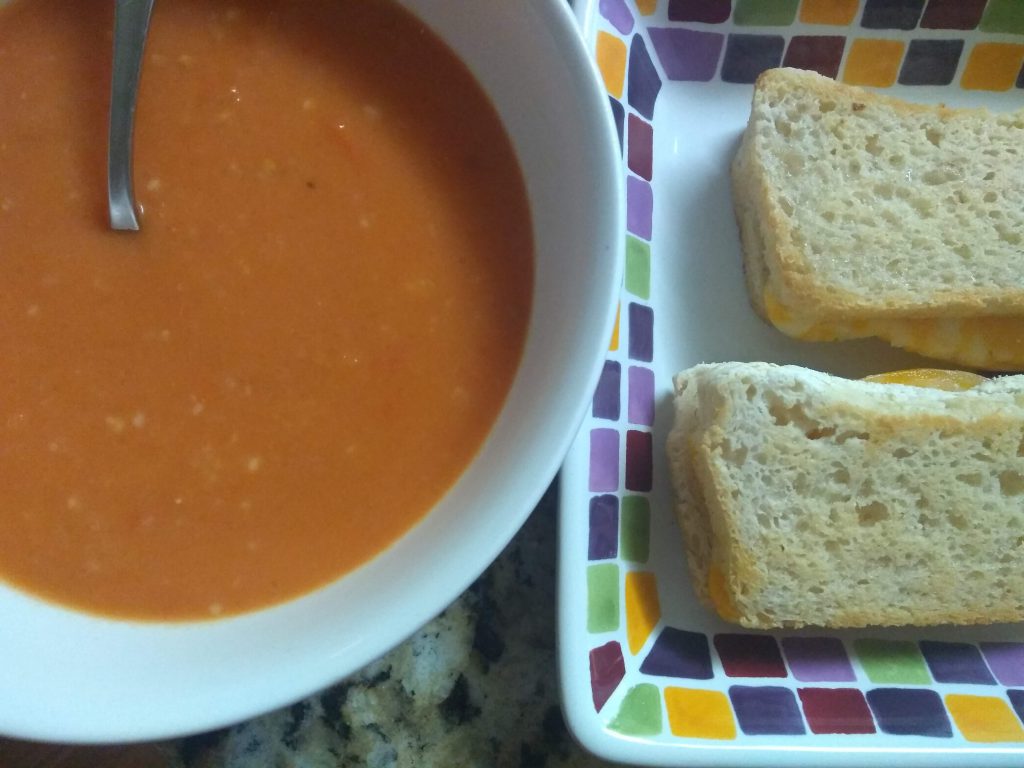
Tomatoes, being a nightshades, is no bueno if you are high histamine. Dairy & yeast were also on that “food to avoid” list. And it has been a challenge to find a gluten free grain free bread that I can tolerate, and even preferably make. So what you see in the picture below is homemade tomato soup, you can have it either chilled or warmed. And that grilled cheese sandwich – yep that’s homemade grain free bread. I’m still working on specifics so that will be coming in the near future. But for now let’s talk about tomato soup.
Growing up, tomato soup was always one of those things that made me feel warm and cozy. Like a really good mac and cheese. And I have missed having both (note: cauliflower mac & cheese coming soon!). So I had 2 tomatoes from Farmhouse Delivery that I needed to use, and my friend Kim had mentioned her tomato plants have gone crazy and she made all this tomato-based stuff, including tomato soup. A-ha! That’s what I want to do! Once again researching a little bit, and seeing what do I have in my fridge, I came up with my own version. It’s super simple and you can add in any herbs or seasonings that you like. You can make it thin or you can make it chunky. and you can freeze the leftovers – not that mine lasted that long.
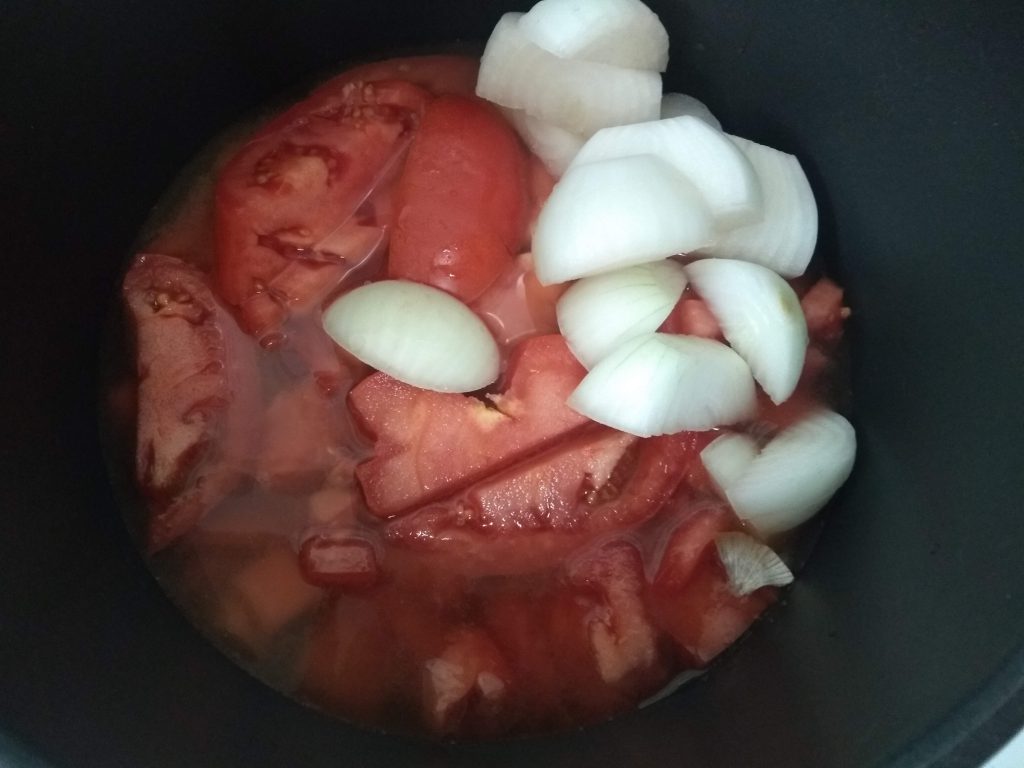
Chilled tomato soup
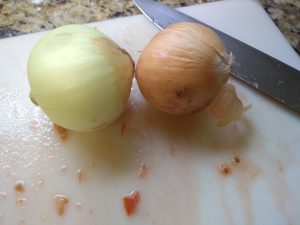
“these are not the onions I’m looking fo” – one is just too small!
2 tomatoes
Onion, one medium or too small
liquid such as water, milk, broth of choice, to cover veggies
Roux: 2 T ea butter & flour
herbs, seasonings & other veggies as you see fit (go PLAY!)
Chop up onion and tomatoes, sautee briefly in stockpot until they get fragrant, then add your liquid of choice. Allow to cook down about 10 min, then put in blender, food processor, or use your immersion blender, and zap to your desired consistency.
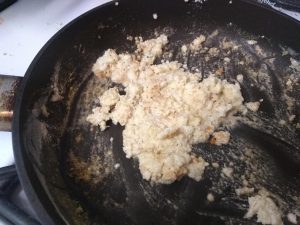
Make the Roux: In saucepan or empty stockpot, melt the butter over medium heat. Stir in the flour, cooking until the roux is a medium brown. Note: GF flour won’t really brown, so go for a thick consistency.
GF Roux
Combine tomatoes mix & roux, blending well. Add herbs, salt and pepper as you desire, and enjoy.
Welcome to the inaugural post of Amber Eats. As I continue on my food Journey, which I will go into on another post, let’s just say I’ve learned a lot about. I’ve learned to play with my food. Who else wants to play with their food? I think everybody does. Some of my post here will be insightful, some of them will be observation/this is what I did, some will include “real” recipes. So as I enjoy this as part of the journey,I invite you along.
Here in Austin, Texas it suddenly got hot, summer has arrived with a Vengeance, and the rest of this week is supposed to be over a hundred. Which brought me to: I have a cantaloupe in my fridge I need to use, and I want something cool. So I came up with cantaloupe ice cream. After researching online what other people are doing I decided to use the K.I.S.S. principle – the only things I put in my ice cream was cantaloupe and canned coconut cream.
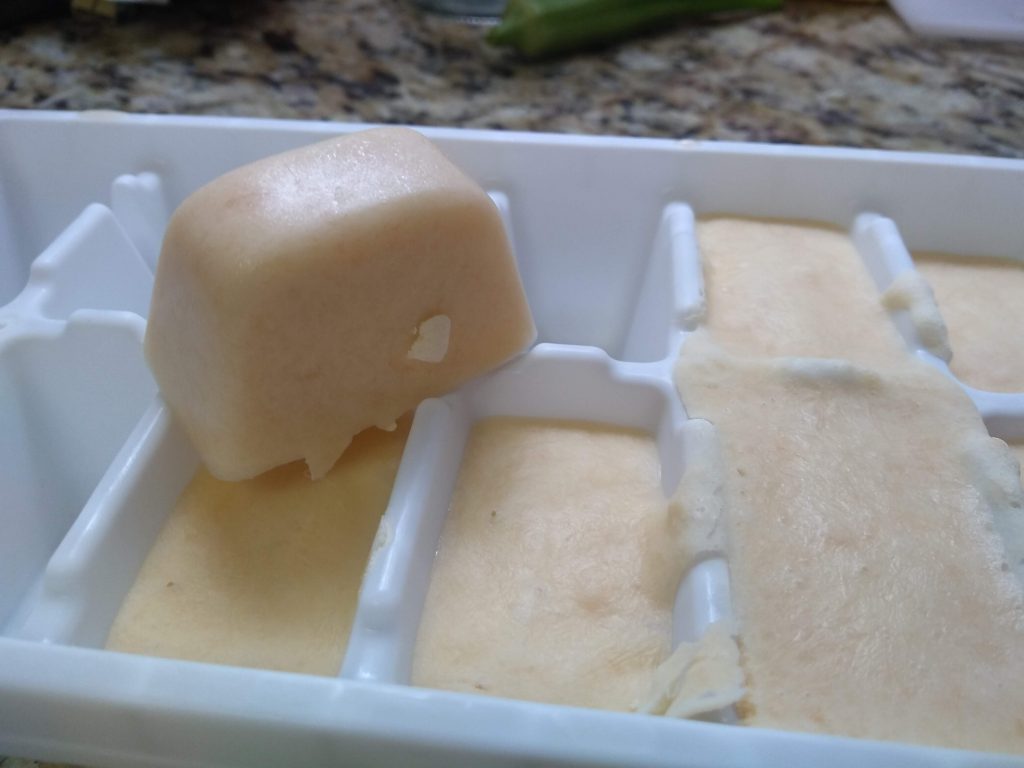
Being the old fashioned girl that I am (at least in some things), I have ice cube trays around. I find that ice cube trays* are beneficial in so many ways these days – cooking for just one, I freeze things in serving sizes that are appropriate for me. Once frozen, you have the nicest little cube of food stuff. In this instance: cantaloupe ice cream, In other instances I’ve used it for basil pesto, pizza sauce, freezing one serving of olives. You get the picture? I have also learned that sometimes I want more than ice cube size, in which case I use a silicone muffin cup and fill it to varying levels. Also very easy to pop out, and I am finding as I work with this more that it stores better in my freezer.
Put in blender, zap to desired level of chunk. Add extras & mix well. Add more or less coconut milk/ cream to desired thickness. Ditto with cantaloupe. Pour into ice cube trays. Freeze. Pop out of ice cube trays. Eat. Or freeze in airtight container.
Added benefit of ice cube trays – you don’t have go in & stir it. It works perfectly.
So when you hear cantaloupe ice cream and coconut milk, what else do you think of? Those tropical fruits, chunks of those fruits in your ice cream. So depending on what you wanted to do, the possibilities here are endless. What about pina colada ice cream? Just use pineapple, a little coconut, extra chunks of pineapple if you’d like. Maybe a hint of lime? Maybe mixing strawberries with my cantaloupe? I eat pretty holistically, to the extent that I can, and one thing I noticed when I was researching is that everybody was adding sugar to their ice cream. You have this fabulous fruit, why do you need sugar? If I choose to use a sweetener, I tend to go toward agave because of its low glycemic index, but that’s me. What works for you?
Of course you can add other things – spices, herbs.
Are you ready? Go forth and PLAY!
*As an Amazon Associate, I earn from qualifying purchases.